Pan de masa fermentada artesanal con corteza crujiente y miga abierta

Artisan Sourdough Bread with Crispy Crust and Open Crumb

Servings

12 slices

Prep Time

1 hours

Cook Time

45 minutes

Calories

180

Cuisine

European

Category

Bread

Sourdough is more than bread — it’s a ritual, a journey, and a labor of love. With its naturally fermented structure and deeply complex flavour, sourdough connects us to generations of bakers who mastered the slow process of transforming just flour, water, and salt into something transcendent. 


Every loaf is a story, told through time and temperature, wild yeast and care. The crisp crust that shatters under your knife, the chewy, tangy interior full of uneven holes — this is bread at its most alive.


This recipe embraces a traditional method with an overnight cold ferment to deepen flavour and improve texture. The result is a beautiful artisan loaf, ideal for toast, sandwiches, or tearing into at the table with butter and sea salt. 


It’s a loaf that demands patience but rewards you with unparalleled freshness, digestibility, and satisfaction. Once you get into the rhythm of sourdough, it becomes more than a recipe — it becomes part of your lifestyle.

Artisan Sourdough Bread with Crispy Crust and Open Crumb

Ingredients

  • 500g (about 4 cups) bread flour

  • 100g (about 1/2 cup) active sourdough starter (100% hydration)

  • 350g (about 1 1/2 cups) water, room temperature

  • 10g (about 2 tsp) fine sea salt

Directions

  1. In a large bowl, mix the starter and water until the starter dissolves. Add the flour and mix by hand or with a dough hook until no dry flour remains. Let rest (autolyse) for 30 minutes.

  2. Sprinkle in the salt and mix to incorporate. Use stretch-and-folds or kneading for 3–4 minutes until smooth.

  3. Cover and let the dough bulk ferment at room temperature (21–23°C/70–74°F) for 4–6 hours, performing 3–4 sets of stretch-and-folds every 30 minutes.

  4. Once dough has risen about 50%, gently turn it out onto a lightly floured surface. Pre-shape into a round, rest for 20 minutes.

  5. Final shape into a tight round or batard. Place into a floured proofing basket. Cover and refrigerate overnight (8–12 hours).

  6. Preheat oven to 250°C (475°F) with a Dutch oven inside.

  7. When ready to bake, turn dough onto parchment paper, score the top, and carefully place in hot Dutch oven. Cover and bake for 20 minutes.

  8. Remove lid and bake uncovered for another 20–25 minutes until golden and crisp.

  9. Cool completely on a wire rack before slicing.

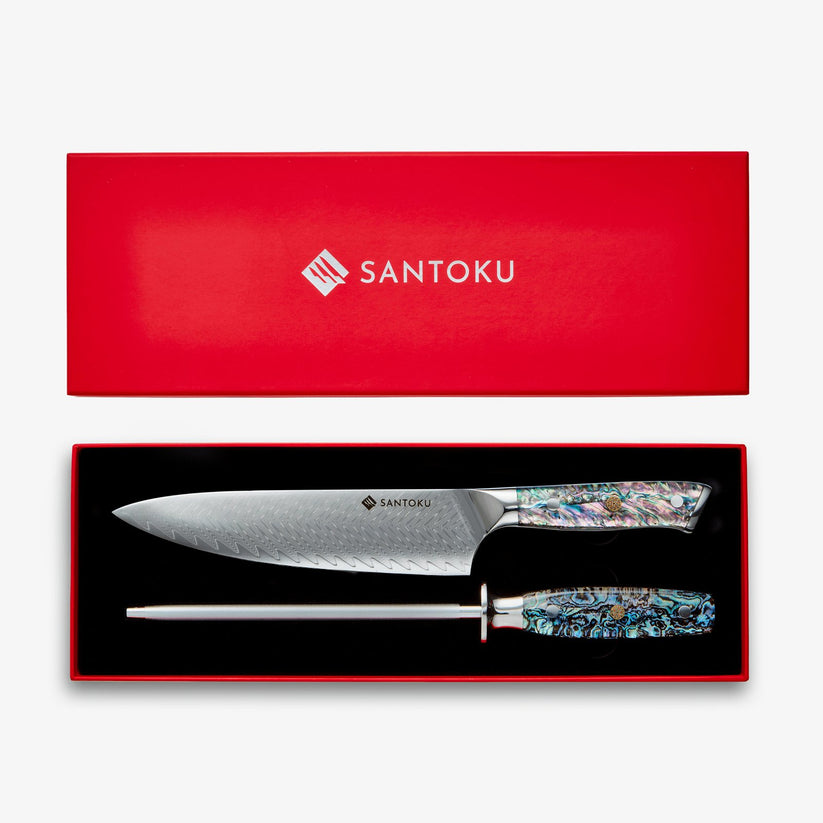
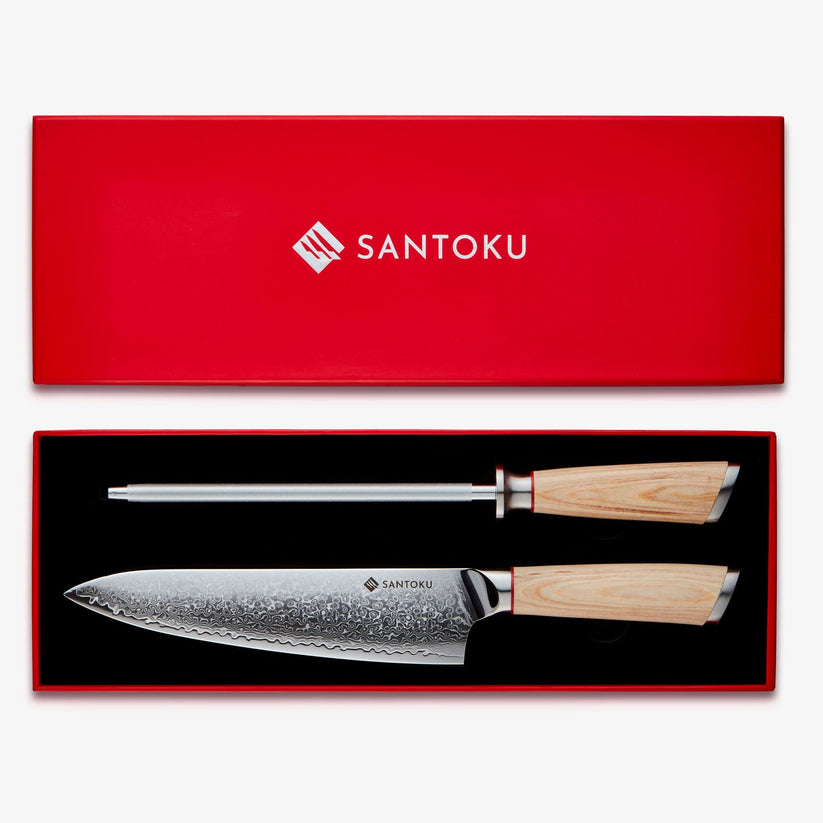
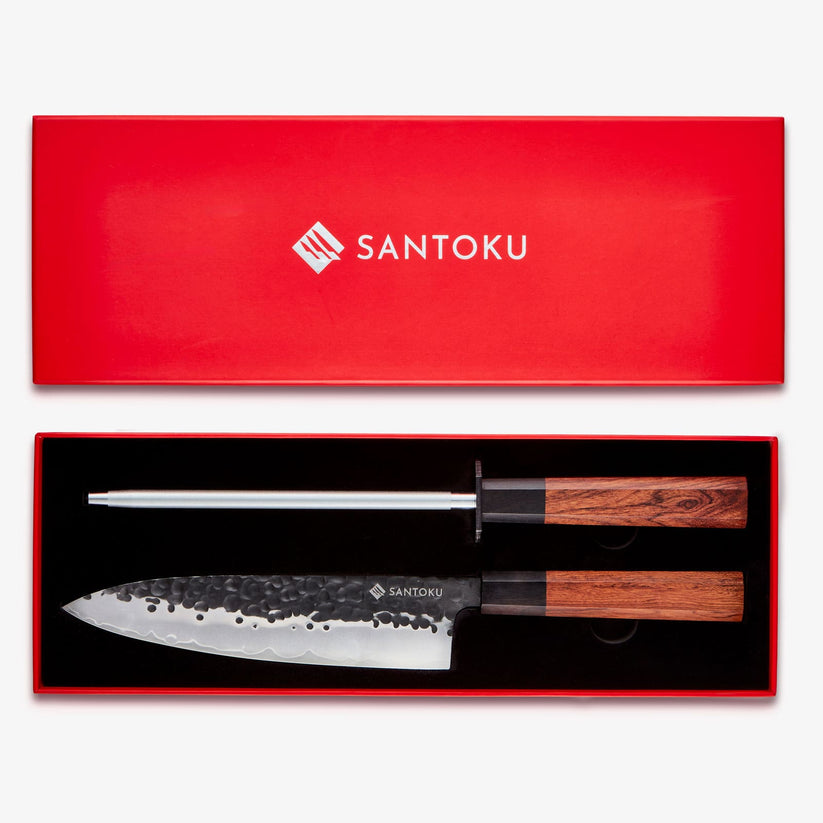
Upgrade Your Kitchen Tools

Make recipe prep easier with professional-grade knives

Browse Collection

Consejos para hornear masa madre

  1. Use un arrancador activo y burbujeante que se haya alimentado de 4 a 6 horas antes de la mezcla.

  2. Permita suficiente tiempo de fermentación a granel: desarrolla sabor y estructura.

  3. Realice estiramientos y plegables suavemente para fortalecer la masa.

  4. Use una escala de cocina: la masa madre tiene que ver con la precisión.

  5. Marque el pan de profundidad y con confianza para un buen resorte de horno.

  6. Use un horno holandés precalentado para atrapar al vapor y mejorar la corteza.

  7. Deje que el pan se enfríe completamente antes de cortar, cortando las ruinas tempranas de la miga.

  8. La práctica hace la perfección: cada horneado te enseña algo.

  9. Use harina de pan de alta proteína para el mejor desarrollo de gluten.

  10. Almacene el lado de corte en una tabla o envuelva en una toalla limpia; evite el plástico.


Servirlo con sugerencias

  • Mantequilla salada y sal marina escamosa

  • Aceite de oliva y vinagre balsámico

  • Huevos y cebolletas suaves y revueltas

  • Flakes de aguacate y chile

  • Charcutería y queso envejecido

  • Tomate bruschetta o tapenade

  • Sopa de verduras asadas

  • Salmón ahumado y queso crema

  • Miel y ricotta

  • Tostado con mantequilla de almendras y plátano


Preguntas frecuentes

P: ¿Cómo sé si mi iniciador de masa madre está listo?
A: Debe duplicar su tamaño dentro de las 4–6 horas posteriores a la alimentación y pasar la "prueba de flotación".

P: ¿Puedo usar harina para todo uso en lugar de harina de pan?
A: Sí, pero la harina de pan ofrece una mejor estructura y aumento debido al mayor contenido de proteínas.

P: ¿Por qué mi masa es tan pegajosa?
A: La masa madre es naturalmente pegajosa: use las manos mojadas durante el manejo y evite agregar demasiada harina extra.

P: ¿Cuál es la temperatura ambiente ideal para la fermentación?
A: Alrededor de 21–23 ° C (70–74 ° F): las temperaturas más cálidas aceleran la fermentación, más frío lo ralentiza.

P: ¿Puedo omitir la prueba nocturna?
A: Puede, pero el retardado frío mejora el sabor, la corteza y el rendimiento de puntuación.

P: ¿Cómo obtengo más migas abiertas?
A: Use harina fuerte, manejo suave, hidratación adecuada y fermentación completa.

P: ¿Por qué no se levantó bien mi masa madre?
A: Posibles razones: arrancador débil, subrayado o conformación incorrecta.

P: ¿Puedo congelar el pan de masa fermentada?
A: Sí: corte y congele, luego tostada directamente de Frozen para obtener la mejor textura.

P: ¿Puedo agregar semillas o hierbas?
A: Absolutamente, dobla durante el segundo conjunto de estiramientos y plegables.

P: ¿Cuánto tiempo permanece fresco?
A: Hasta 3 días a temperatura ambiente. Actualiza con tostadas ligeras después de eso.

Chef's Recommendation

"A sharp knife is your best friend in the kitchen. For recipes like this, I always reach for my Chikashi chef knife - it gives me the control and precision I need for perfect results every time."
Chef's Note: A sharp knife not only makes prep work faster but also safer - dull knives require more pressure and are more likely to slip.

Discover why our Japanese-style knife sets are trusted by home cooks and professionals alike.

Shop Professional Knives →
Volver al blog